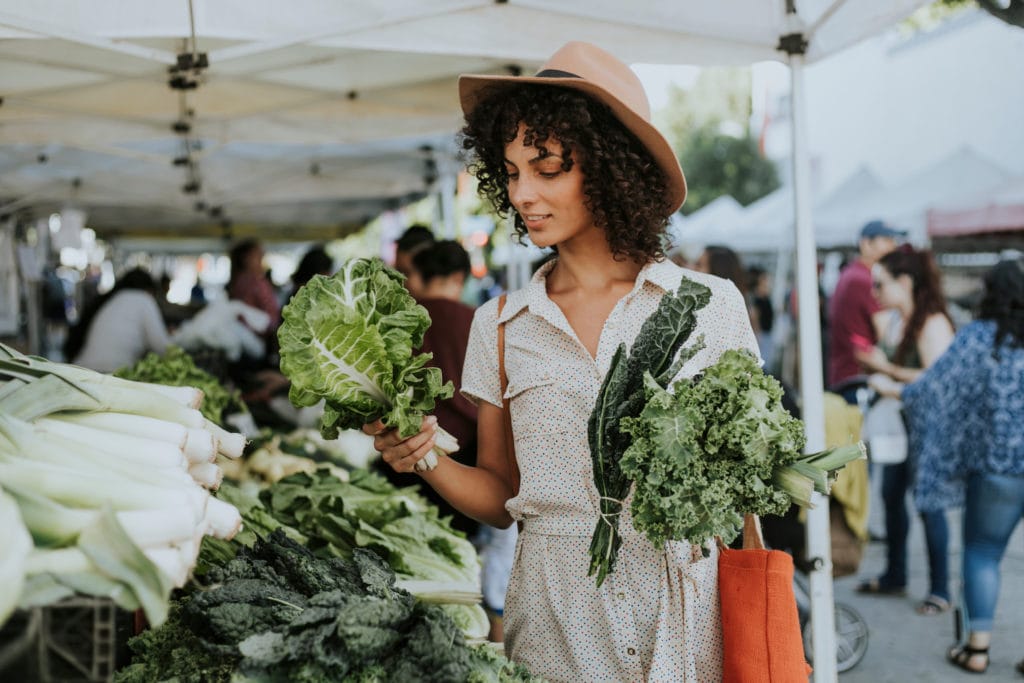
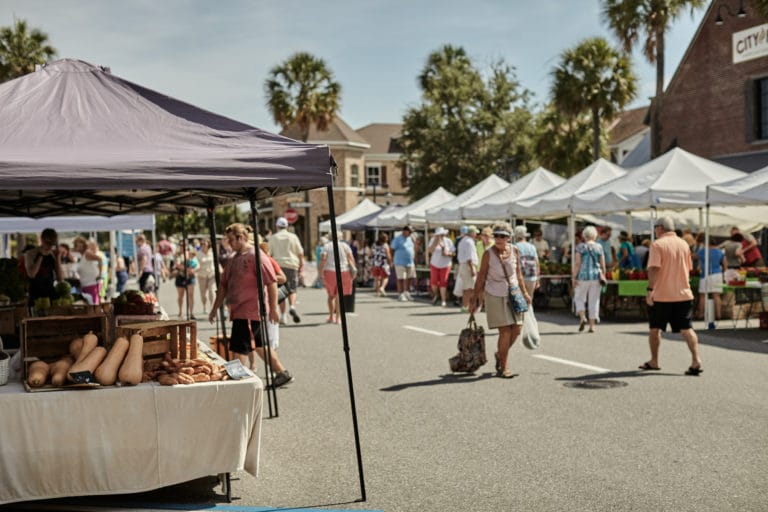
While shopping for groceries can feel like a chore, strolling through the farmers market feels a little magical.
Colorful produce displays wherever you look. The mouthwatering smell of cooked food wafting from vendor stalls and food trucks. The greetings exchanged between vendors who recognize returning customers and know them by name. There’s no place quite like a bustling market!
As a farmers market food vendor, you get to be a major part of creating that special atmosphere for shoppers.
Wondering how you can get in on the fun? We’ve put together a seven-step guide to becoming a farmers market vendor so you can start selling with confidence. Plus, download a copy of our free farmers market business plan template and create yours today!
Which of the following best describes where you are in the vending process? Click the option that applies to you and we’ll take you to the right step. Or keep scrolling to dive right in!
- I just started my business/am about to start my business
- I’m curious about the costs and benefits of vending at a farmers market
- I know the basics of selling at farmers markets but I don’t have the necessary permits
- I know the basics of selling at farmers markets but I don’t have insurance/don’t know why I need insurance
- I know the basics and have vendors insurance and necessary permits, but want tips for what to sell
- I’m most interested in learning how to find farmers markets and how to apply
- I’m curious about what the application process looks like and what I might need to provide
Step 1: Create Your Business Plan
Do you really need a business plan to become a farmers market vendor? The answer is yes!
Many farmers markets require you to submit your business plan alongside other application materials, including Pennsylvania’s famous Lancaster Central Market. This market’s vendor application process requires business owners to submit a “mini business plan” that includes information about monthly profits and available working capital.
A business plan isn’t just for the market, though — it’s for you. Business plans act like a road map for your success, helping you strategize for the future and stay on track to reach your goals.
Every good business plan has the following sections:
- Executive summary: A brief, exciting description of your business
- Company description: Similar to your executive summary, except more in-depth; include your goals and mission statement
- Market analysis: Research you conduct on your competitors, target customers, and your industry
- Marketing strategy: The methods you use to promote your business and which channels you use to do it (email, social media, etc.)
- Loans and financing: Your sources of funding
- Operational costs and financial projections: Your standard operating costs, profit margins, and projected annual revenue
- Certificate of Insurance (COI): Your proof of farmers market vendor insurance that includes details of your coverage
Take some of the stress out of creating your business plan by using our free template to get started!
Step 2: Understand the Costs and Potential Revenue
The cost of vending at a farmers market varies widely depending on a few factors, including:
- Where you live
- The size of the market
- How they charge for spots
For example, some small markets charge $10 a day, while others charge $60. There are markets that may charge you for the month or the season instead, requiring a long-term commitment and hundreds of dollars upfront.
Beyond just renting the booth, there are other costs to expect. These include:
- Transportation
- Licenses and permits (more on this in Step 2)
- Insurance (more on this in Step 3)
- Labor (this includes the time it takes you to pack, set up, work, tear down, and unpack after the market)
- Gear (tent, table, table covers, signage, coolers, etc.)
When you’re ready to start seriously looking for markets to apply to (see Step 5), make sure you pay close attention to their application and vending fees so you know if they’re within your budget.
Hundreds of dollars in fees may not be realistic for someone who’s just getting started in the world of farmers markets, so don’t write off the smaller markets as good opportunities to get your foot in the door.
If the cost of vending varies, how much do farmers market vendors make? There isn’t one simple answer to that question either. How much you can make depends on your profit margins, expenses, and the size of the market you’re attending, among other factors.
There are many different pricing strategies you can adopt to make sure you’re making a profit at the market. While each of them has its advantages and drawbacks, make sure your prices cover the cost of producing or making your products while also turning a profit.
Step 3: Obtain Necessary Licenses or Permits and Register Your Business
Ah, paperwork. Possibly the least glamorous part of becoming a farmers market vendor, but definitely one of the most important.
The types of permits you’ll need can vary depending on where you live and what you plan on selling, but they can also differ from market to market. It’s always a good idea to touch base with the management team at any markets you want to participate in to see what they require. This could include:
- A vendor’s license (allows you to legally sell your goods)
- A food handler’s card, also known as a food handler’s permit, food worker card, or food handler’s license (demonstrates that you know proper food safety and handling techniques)
- A cottage food handler’s permit, also known as a cottage food permit (allows you to make and sell certain non-potentially hazardous foods from your home kitchen)
But don’t stop there—be sure to educate yourself on local regulations in case there are any other legal requirements you need to meet. This information can likely be found through your state’s Department of Agriculture and Division of Food Safety websites.
If you haven’t already, you should also register your business. This may sound like an intimidating process, but in most cases it just involves registering the name of your business with your local and state governments. The U.S. Small Business Administration (SBA) is a great resource for determining how you need to register your business.
Step 4: Purchase Farmers Market Vendors Insurance
In addition to holding the proper licenses and permits, many farmers markets will actually require you to carry liability insurance.
While there are many safety precautions you can take as a food vendor, accidents still happen.
A customer could contract food poisoning from something you sold them, or a big gust of wind could blow over the tent covering your booth and injure people nearby. Either of these mishaps could result in expensive claims for your business.
Liability insurance can protect you in the event of a claim, preventing you from having to pay completely out of pocket for legal fees, repairs, damages, and more.
FLIP is the trusted insurer for over 8,000 food vendors just like you, offering farmers market insurance for as low as $25.92 per month.
By carrying liability insurance, you’ll have a greater chance at getting accepted into farmers markets and be better protected in the event something goes wrong.
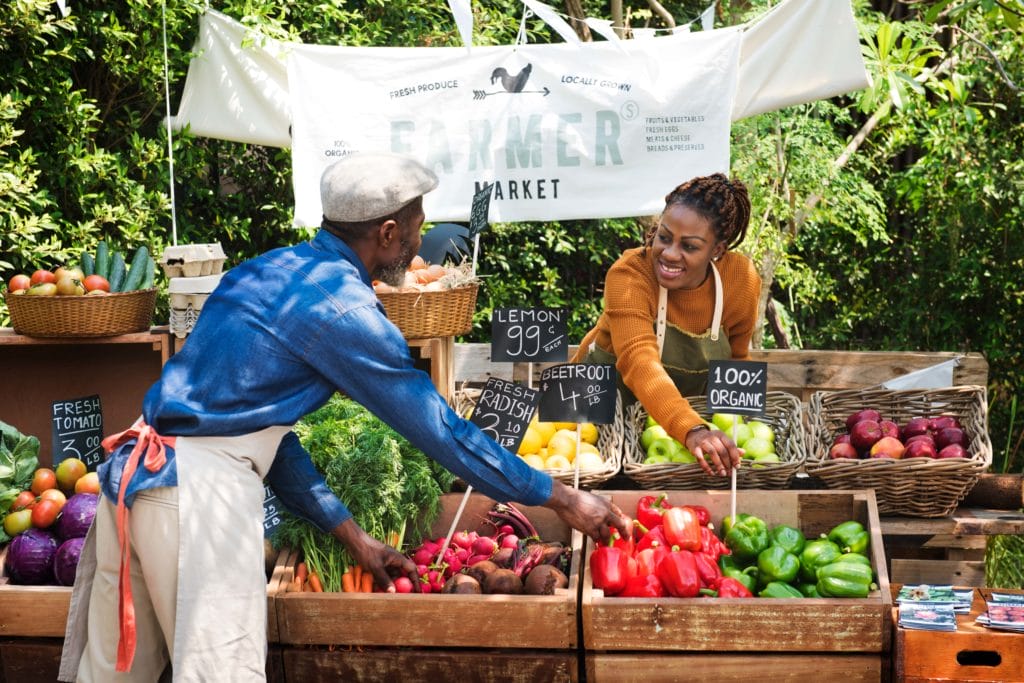
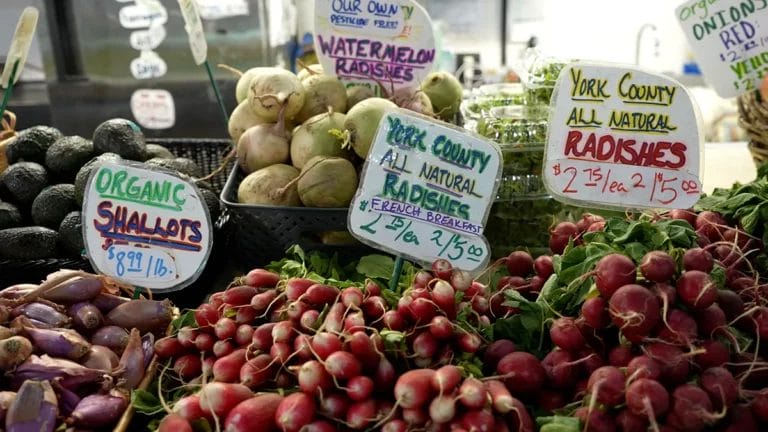
Step 5: Decide What to Sell and How You’ll Sell It
While fresh produce is always a staple at a farmers market, most markets also allow you to sell various other goods such as cooked foods, baked goods, pet treats, and more.
It’s important to decide what you want to sell before applying to different markets because they’ll each have different rules regarding what you can and can’t sell there.
Some of the most popular food items for sale at farmers markets include:
- Vegetables
- Fruits
- Herbs (fresh and dried)
- Nuts and seeds
- Honey
- Dairy products (milk and cheese)
- Eggs
- Meat
- Baked goods
- Made-to-order food
- Specialty foods (infused oils, preserves, etc.)
- Dietary-specific foods (gluten-free, paleo, vegan, etc.)
- Plants and flowers
You probably already have a rough idea of what you want to sell at the market. But do you know how you’re going to make sure it actually sells? Here are a couple of tips that every farmers market vendor should know.
Change Up Your Selection
While it’s always good to have some tried-and-true favorites for sale, switching up what you have to offer throughout the season will keep your customers excited and coming back for more week after week.
Provide Free Samples
Clearly Display Your Prices
Nobody likes finding something they want to buy and not being able to tell how much it costs. Display small chalkboard signs throughout your booth with prices of nearby items. As a bonus, they look great too!
Curious to learn more about what you can do to increase your sales? Get our top 9 tips on how to sell more at farmers markets.
Step 6: Find a Farmers Market Near You
If you’re wondering how to get into a farmers market, the first thing you should do is find some that are a good fit for you and your business.
As mentioned earlier, markets vary widely in both size and selection. What one market allows you to sell, another may prohibit.
The best thing you can do to decide which markets are a good fit is to go to them and scope them out in person.
While you’re at the market, pay attention to the following:
- What’s the foot traffic like? Is it fairly busy or a little on the slow side?
- How big/small is the market itself?
- Are there other vendors in your niche attending this market?
- What items appear to be selling more than others?
These are important questions to ask yourself before you start applying.
A market might sound like a good fit based on their website or Google reviews, but when you get there you might be shocked to realize that there’s very little foot traffic. Maybe there are already multiple vendors in your niche there and you’ll have too much direct competition.
Looking for more tips? Read our guide for how to succeed at a farmers market.
Step 7: Apply to Become a Vendor
Once you’ve found the perfect market(s) for your business, it’s time to apply!
There are generally two ways to send in your application:
- Apply online through the market’s website
- Attend the market and ask to speak to the management team about applying
Many markets will have online applications these days, so be sure to check their website first.
What’s required in an application may vary between markets, but typically you can expect to submit the following:
- A brief description of what you want to sell
- Copies of your license and tax information
- Proof of insurance
- Pictures of your products
- A picture of your products on display
- Application fee
For this last point, don’t worry if you haven’t sold at a market yet and don’t have a picture of a real booth. Just set up a mock booth at home the way you plan to at the market and send that in. The market managers just want an idea of how you plan on displaying your items.
Applying to multiple markets throughout the year is a great way to get your business out in front of new customers, but those application fees can add up fast. Try looking for year-round farmers markets in your area so you only have to apply once for the entire year in order to secure your spot.
Find a Market and Get Started Today
By following these steps, you’ll be well on your way to vending at a farmers market this year! If you’re looking for potential markets in your state, be sure to check out our list of the top food festivals and markets across the country.

By Alex Hastings
Alex is a Marketing Copywriter at Food Liability Insurance Program (FLIP). In her free time, she enjoys reading, birding, traveling, and finding any excuse to get brunch.